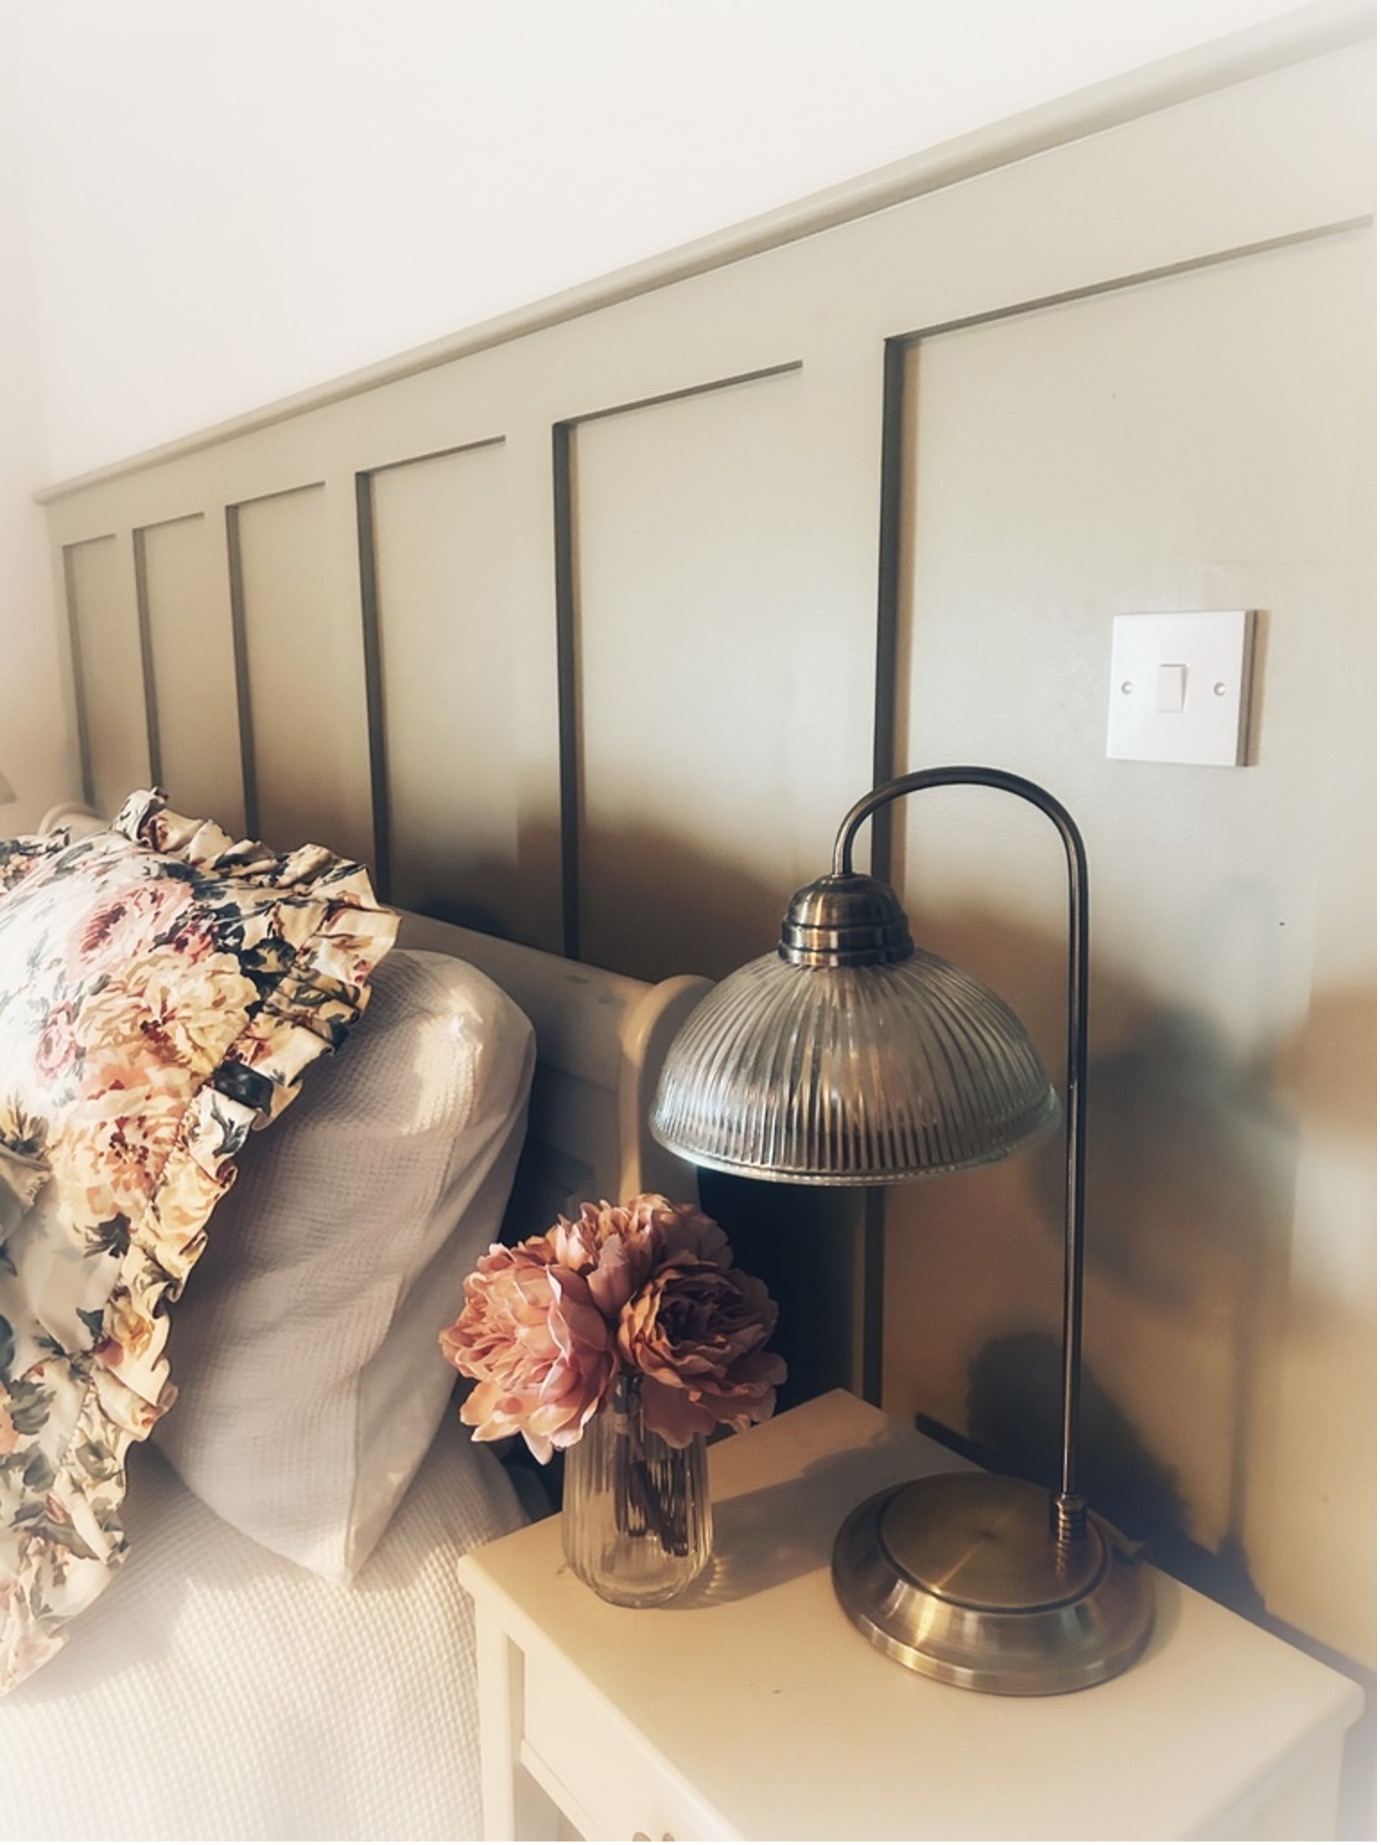
Welcome to Pure Panelling
Bring the beauty of bespoke panelling into your home.
With Pure Panelling, you can create a space that is both stylish and sustainable.

Panel range
Step by step
Prepare your Wall
Ensure the wall is filled, sanded, smooth and all holes are filled. Now is a good time to give the wall a coat of your finished panelling colour.
Measure and mark out
Measure and mark out on the wall accurately with a pencil your preferred wall panel design, ensure to use a spirit (or laser) level to make sure your lines are level, taking your time on this step will ensure a great finish once complete.
Make your cuts
Make any cuts to your horizontal rails and lay your panelling on the floor prior to adhering to the wall, if you prefer to use the pre-cut horizontal rails at 600mm be sure to set out from a vertical centre line on your wall to ensure your panels at either end are equal.
Carefully adhere each strip
Carefully adhere each strip (Snaking on adhesive to the rear of each strip) over your wall marking out and checking each strip is level with your spirit level.
Adhere your preferred Dado to the top if required
Fill any face gaps
Once dry fill any face gaps between the strips with the wall filler and caulk around all edges of the strips and smooth out evenly with a slightly wet finger.
Prepare for painting
Once all the filler and caulk is dry make your preparations for painting by lightly sanding the filled joints until smooth.
Priming
Apply your primer (if required), preferred paint finish including the wall behind in your chosen colour, Stand back and enjoy your new wall panelling.


